You’ll have no bake cheesecake recipe ready in just 20 minutes of hands-on time, then chill while you relax. The buttery graham cracker crust hits your nose the moment you press it into the pan—that warm, toasted aroma that makes everyone ask what you’re making. I’m obsessed with this version because it’s honestly foolproof, and you can prep it days ahead without stress. This is my go-to when I need a dessert that looks fancy but requires zero baking skills. Bookmark this for your next dinner party or lazy Sunday.
5 reasons to make this tonight no bake cheesecake recipe
Here’s why this creamy cheesecake has become my most-requested dessert. It’s fast, impressive, and honestly saves your sanity on busy weeknights. No oven stress, no baking failures—just smooth results every single time.
- Ready in 4 hours start to finish — most of that is chill time, not active work
- Perfect make ahead cheesecake — prep it 2-3 days early, grab from fridge when guests arrive
- Minimal cleanup required — just a bowl, a pan, and a spatula (my kind of cooking)
- Costs way less than bakery versions — under $12 for 8 servings of pure comfort dessert
- Impresses everyone without the stress — looks gourmet, tastes homemade, zero intimidation factor
Ingredients for no bake cheesecake recipe
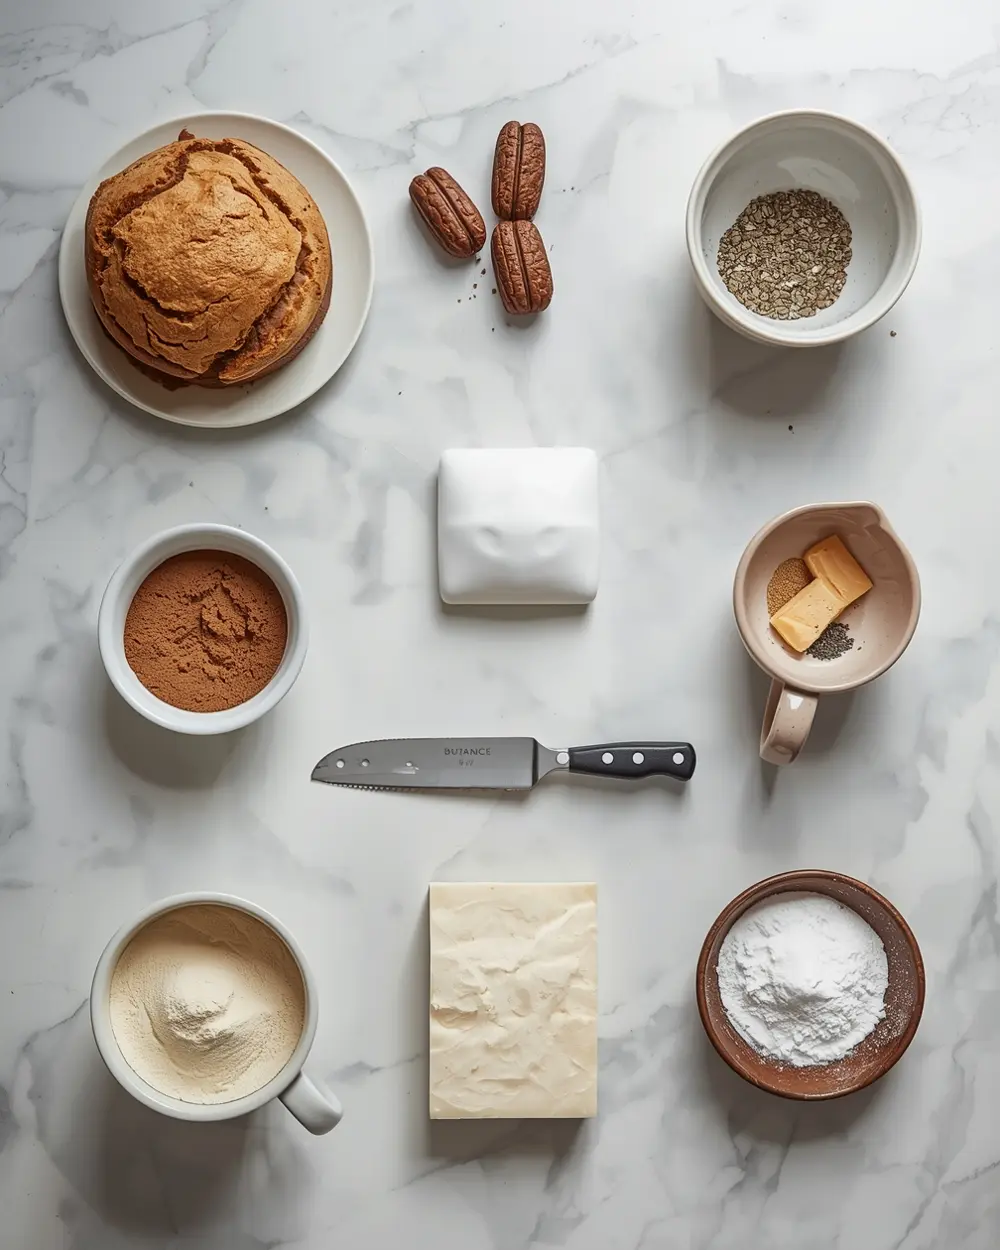
- 1½ cups graham cracker crumbs
- ½ cup butter, melted
- ¼ cup granulated sugar
- 16 oz cream cheese, softened to room temperature
- ¾ cup powdered sugar
- 1 cup whipped topping
- 1 teaspoon vanilla powder
- ½ cup fresh lemon juice
- 1 teaspoon lemon zest
- 2 tablespoons honey
- ½ cup toasted coconut flakes
- ⅛ teaspoon salt
The cream cheese needs to be soft—I’m talking almost room temperature, not cold from the fridge. If it’s too firm, your filling gets lumpy and won’t blend smoothly. I let mine sit out for 30 minutes before mixing, and it makes a huge difference in texture.
The graham cracker crumbs should feel like wet sand when you mix them with melted butter. That’s the sweet spot—not too dry, not too wet. Some people skip toasting the coconut, but I personally think the extra step adds so much warmth to the crust. Trust me on this one.
Step-by-step instructions
1. Mix graham cracker crumbs, melted butter, and granulated sugar in a bowl until it resembles wet sand. Press this mixture firmly into the bottom of a 9-inch springform pan, working it up the sides just slightly. Use the bottom of a measuring cup to pack it down tight so it holds together. Chill the crust for 15 minutes while you prep the filling. This step keeps everything from falling apart when you add the creamy layer on top.
2. Beat softened cream cheese with powdered sugar using an electric mixer on medium speed for about 2 minutes. Scrape down the bowl halfway through to catch any lumps hiding on the sides. The mixture should look pale and fluffy, not dense. Add vanilla powder and salt, then mix for another 30 seconds. Don’t overmix here or you’ll incorporate too much air and get a grainy texture.
3. Fold in the whipped topping gently using a spatula—this is where you’ll hear the mixture get thicker and creamier as you fold. Work slowly and don’t rush this step because you’re creating that cloud-like texture. Some people use a mixer for this, but folding by hand keeps everything lighter and more delicate. The filling should look silky and smooth at this point.
4. Stir in fresh lemon juice and lemon zest until everything is evenly combined. The juice brightens the whole dessert and cuts through the richness of the cream cheese beautifully. Drizzle in the honey and fold gently one more time. Taste a tiny spoonful and adjust sweetness if you need to—this is your moment to customize it.
5. Pour the filling onto your chilled crust and smooth the top with a spatula. Work gently so you don’t disturb the crust layer underneath. Spread it evenly, making sure you get into the corners of the pan. The filling should be about 1½ inches thick when spread out. This thickness gives you that perfect ratio of crust to creamy filling.
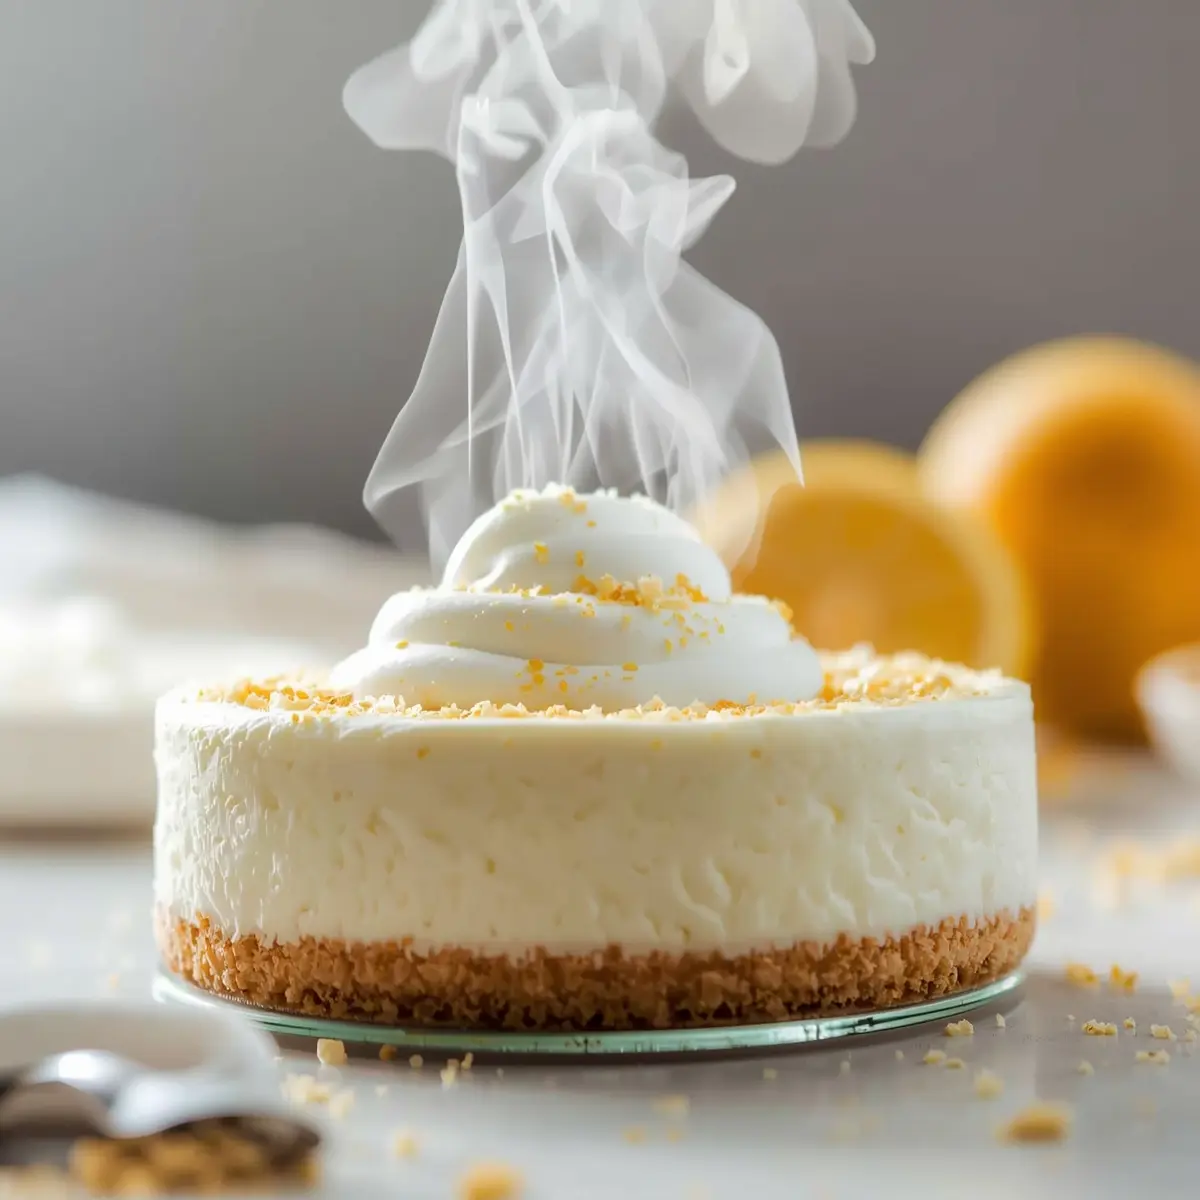
6. Sprinkle toasted coconut flakes evenly over the top, pressing them gently so they stick. Your kitchen will smell like warm coconut and buttery cream cheese—that’s your signal everything’s going right. Refrigerate for at least 4 hours, though overnight is even better. The longer it chills, the firmer and sliceable it becomes. I usually make mine the night before so it’s perfect by dinner time.
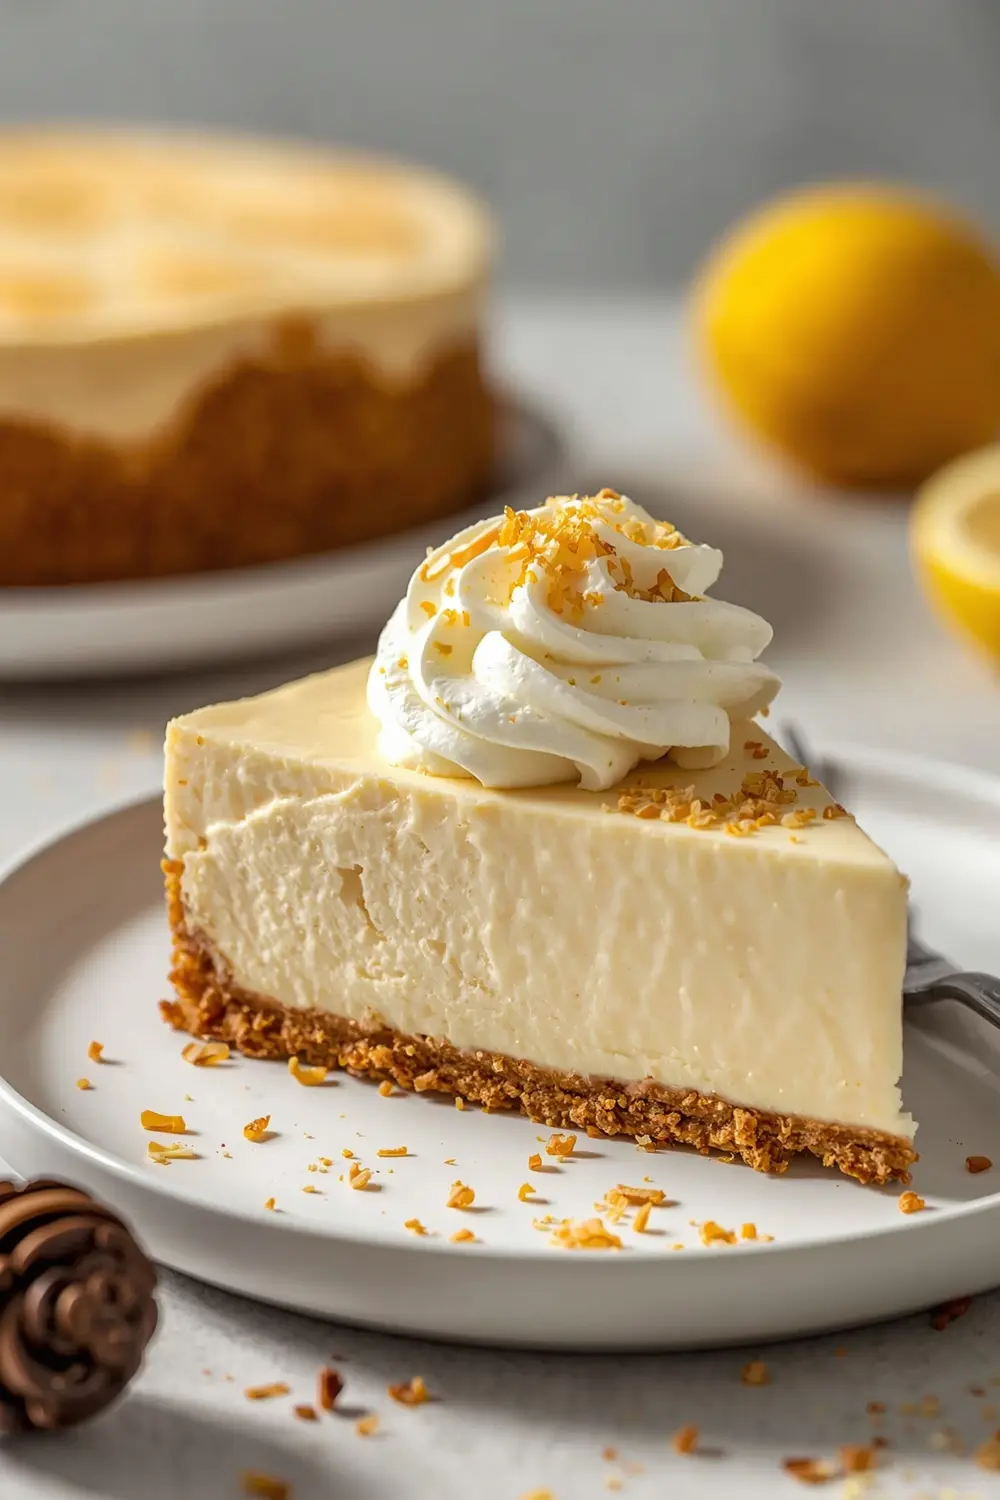
7. Run a thin knife around the edges before unclasping the springform pan to prevent cracking. Slice with a hot, wet knife—dip it in warm water and wipe it between each cut. This keeps the slices clean and prevents the filling from dragging. Serve cold straight from the fridge for the best texture and flavor.
Serving ideas for no bake cheesecake recipe
These pairings take your easy no bake dessert from simple to absolutely memorable.
Fresh Berry Topping
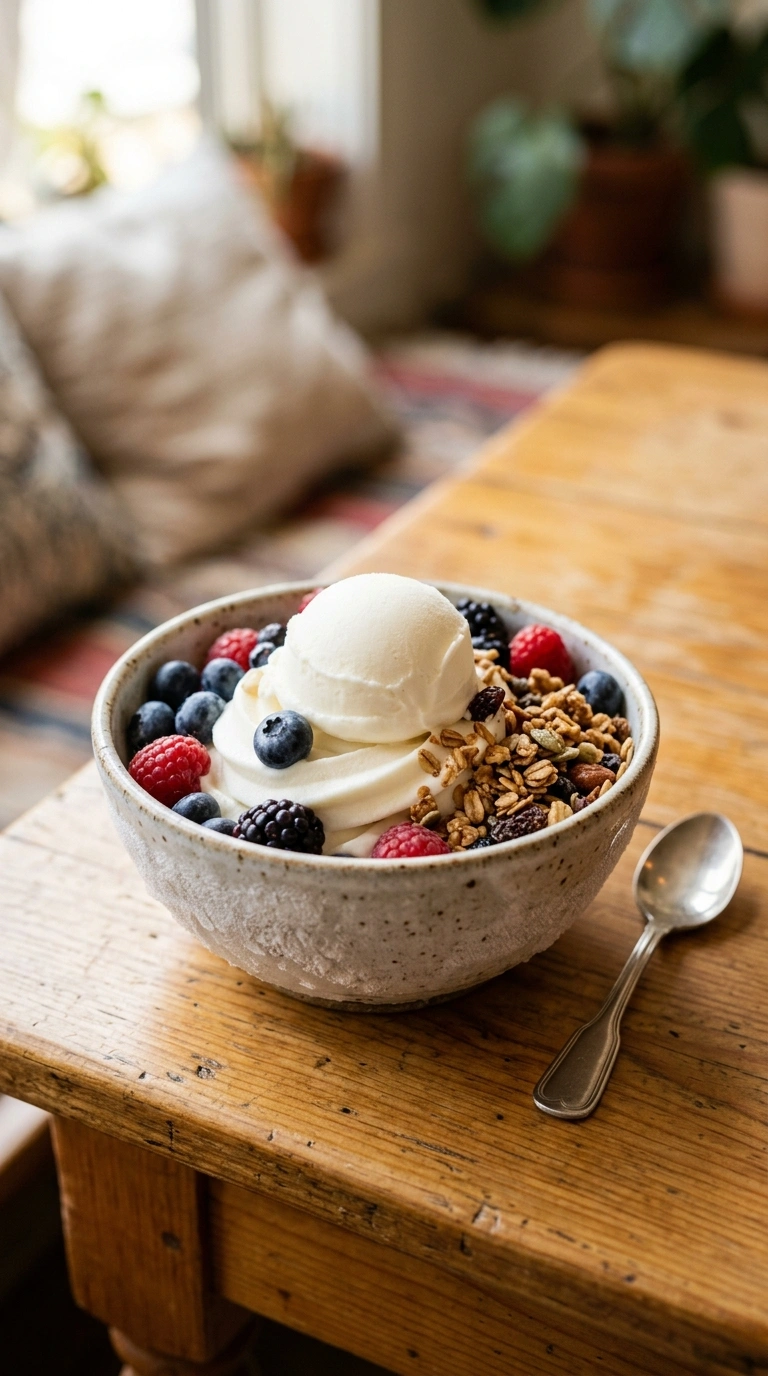
Layer fresh raspberries, blueberries, or strawberries on top of each slice just before serving. The cold, tart berries create a bright contrast against the creamy, rich filling—that temperature and flavor combination is unbeatable. You can drizzle a tiny bit of honey over the berries for extra polish. This pairing works beautifully with lemon dessert recipes that already have citrus notes built in.
Chocolate Ganache Drizzle
Melt dark chocolate with a splash of heavy cream, then let it cool slightly before drizzling over slices. The silky, warm chocolate against the cold, creamy cheesecake is basically dessert perfection. You only need a tablespoon or two per slice—it goes a long way. The richness of chocolate balances the lightness of the no bake cheesecake beautifully.
Candied Lemon Peel Garnish
Make candied lemon peel by simmering thin lemon slices in simple syrup until they’re translucent and glossy. Top each slice with a few pieces for a fancy, homemade touch that tastes incredible. The chewy texture and bright citrus flavor echo the lemon juice already in your filling. This makes your creamy cheesecake look like it came from a professional bakery.
Frequently asked questions
How long does no bake cheesecake last in the fridge?
Your no bake cheesecake recipe stays fresh for 5-7 days when stored properly in an airtight container. Keep it covered tightly so it doesn’t pick up any fridge flavors or dry out.
The crust will soften slightly over time, but the filling stays creamy and delicious. If you notice any watery liquid pooling on top after a few days, just drain it off gently before serving.
Can I substitute the cream cheese with something else?
You can use Greek yogurt mixed with mascarpone for a tangier version, though it won’t be quite as rich. Use ¾ cup Greek yogurt and ¼ cup mascarpone to replace the 16 oz cream cheese, and reduce the powdered sugar slightly.
Ricotta cheese also works, but it’ll be slightly grainier in texture. Honestly, cream cheese is the best option for that classic smooth, creamy texture that makes this dessert so special.
What if I want to freeze individual slices?
Freeze slices wrapped individually in plastic wrap for up to 3 months without major texture loss. Let them thaw in the refrigerator overnight before eating—never thaw at room temperature.
The crust will soften more than the filling when thawed, so eat them within a day of thawing. I personally don’t recommend freezing the whole cheesecake since slicing becomes tricky after it’s been frozen.
Can I make this no bake cheesecake recipe without the coconut?
Absolutely—skip the coconut entirely and top with fresh berries, chocolate shavings, or a drizzle of caramel instead. Your easy no bake dessert is completely customizable based on what you have on hand or what your guests prefer.
The filling is the star anyway, so any topping works. Some people leave it plain, others go wild with decorations—do whatever makes you happy.
Final thoughts
This ready-in-4-hours dessert has genuinely saved me so many times when I needed something impressive fast. The creamy filling practically melts on your tongue, with that bright lemon flavor cutting through all the richness. You get that perfect moment where the cold, silky texture hits first, then the buttery crust crumbles, then the flavors bloom all at once. Make this tonight and watch everyone ask for your recipe—I promise they won’t believe you didn’t bake it. Pin this now for your next dinner party or lazy weekend craving. Check out more make ahead dessert recipes while you’re here.
Easy No Bake Cheesecake
Ingredients
Method
- Mix graham cracker crumbs, melted butter, and granulated sugar in a bowl until it resembles wet sand. Press this mixture firmly into the bottom of a 9-inch springform pan, working it up the sides just slightly. Use the bottom of a measuring cup to pack it down tight so it holds together. Chill the crust for 15 minutes while you prep the filling. This step keeps everything from falling apart when you add the creamy layer on top.
- Beat softened cream cheese with powdered sugar using an electric mixer on medium speed for about 2 minutes. Scrape down the bowl halfway through to catch any lumps hiding on the sides. The mixture should look pale and fluffy, not dense. Add vanilla powder and salt, then mix for another 30 seconds. Don’t overmix here or you’ll incorporate too much air and get a grainy texture.
- Fold in the whipped topping gently using a spatula—this is where you’ll hear the mixture get thicker and creamier as you fold. Work slowly and don’t rush this step because you’re creating that cloud-like texture. Some people use a mixer for this, but folding by hand keeps everything lighter and more delicate. The filling should look silky and smooth at this point.
- Stir in fresh lemon juice and lemon zest until everything is evenly combined. The juice brightens the whole dessert and cuts through the richness of the cream cheese beautifully. Drizzle in the honey and fold gently one more time. Taste a tiny spoonful and adjust sweetness if you need to—this is your moment to customize it.
- Pour the filling onto your chilled crust and smooth the top with a spatula. Work gently so you don’t disturb the crust layer underneath. Spread it evenly, making sure you get into the corners of the pan. The filling should be about 1½ inches thick when spread out. This thickness gives you that perfect ratio of crust to creamy filling.
- Sprinkle toasted coconut flakes evenly over the top, pressing them gently so they stick. Your kitchen will smell like warm coconut and buttery cream cheese—that’s your signal everything’s going right. Refrigerate for at least 4 hours, though overnight is even better. The longer it chills, the firmer and sliceable it becomes. I usually make mine the night before so it’s perfect by dinner time.
- Run a thin knife around the edges before unclasping the springform pan to prevent cracking. Slice with a hot, wet knife—dip it in warm water and wipe it between each cut. This keeps the slices clean and prevents the filling from dragging. Serve cold straight from the fridge for the best texture and flavor.