Everyone tells you that chicken parmesan baked needs to be fried first to taste good. That’s wrong. You can skip the oil-splashing mess and still get crispy, golden chicken with a melted cheese topping that’ll have your family asking for seconds.
The smell of garlic and marinara sauce bubbling in your oven is honestly one of the best weeknight signals that dinner’s coming. Most home cooks think baking means soggy chicken, but I’m here to prove that’s a total myth.
This recipe is the comfort dinner that actually fits into your busy week. No deep fryer, no standing over hot oil, no cleanup nightmare. Just easy Italian food that tastes like you spent hours on it.
Want to save this for your next meal-prep day? Bookmark this now—you’ll come back to it constantly.
What everyone gets wrong about classic chicken parm
People think baking makes chicken dry and flabby. That’s because they’re not coating it right or they’re using the wrong temperature. When you bread chicken parmesan baked properly and hit it with 425°F heat, the exterior gets crispy while the inside stays juicy and tender.
The trick isn’t the cooking method—it’s the preparation. Proper breading and a hot oven beat a shallow pan every single time.
**Here’s what changes everything:** Panko breadcrumbs stay crispy longer than regular ones. The larger flakes trap air and brown faster. Combined with a properly seasoned egg wash and a hot oven, you get restaurant-quality results at home.
Ingredients for chicken parmesan baked
- 1 lb boneless skinless chicken breasts (4 breasts)
- 1 tsp salt
- 1/2 tsp black pepper
- 2 tbsp olive oil
- 1 cup all-purpose flour
- 2 large eggs
- 1 cup panko breadcrumbs
- 1 cup shredded mozzarella cheese
- 1/2 cup grated parmesan cheese
- 1 cup marinara sauce
- 2 cloves garlic, minced
- 1 tsp dried oregano
The chicken breasts are the star here, and you want them thin and even. I pound mine to about 1/2-inch thick so they cook through without the edges getting tough. The texture should be smooth and firm before breading—that’s your sign they’ll stay juicy once cooked.
If you don’t have panko breadcrumbs, regular ones work but won’t get quite as crispy. Honestly, I’d grab panko if you can—it makes a real difference. You can use fresh mozzarella instead of shredded, but shredded melts more evenly across the chicken. Trust me on this one.
Step-by-step instructions
1. Preheat your oven to 425°F. Line a baking sheet with parchment paper and lightly brush it with olive oil. This prevents sticking and helps the chicken bottom get crispy instead of steamed. Pat your chicken breasts dry with paper towels—moisture is the enemy of crispiness. Season both sides generously with salt and pepper.
2. Set up your breading station with three shallow bowls: flour in the first, beaten eggs in the second, panko mixed with 1 tsp oregano in the third. Coat each chicken breast in flour first, shaking off excess. Then dip into the egg, letting it drip off slightly before rolling in the panko mixture.
3. Place breaded chicken on your prepared baking sheet. You’ll hear it sizzle slightly when it hits the parchment—that’s the signal your oven’s hot enough. Drizzle a tiny bit of olive oil over the top of each piece. This helps the breadcrumbs brown evenly without being greasy.
4. Bake for 15-18 minutes until the chicken is cooked through and the breading turns golden brown. Don’t panic if it looks pale at first—it’ll brown quickly once the oven heat really kicks in. Mine always takes about 16 minutes, so set a timer and check at the 15-minute mark.
5. While the chicken bakes, warm your marinara sauce in a small saucepan over medium heat. Stir in the minced garlic and let it warm through. This step only takes 3-4 minutes and makes the sauce taste fresher and less like it came straight from a jar.
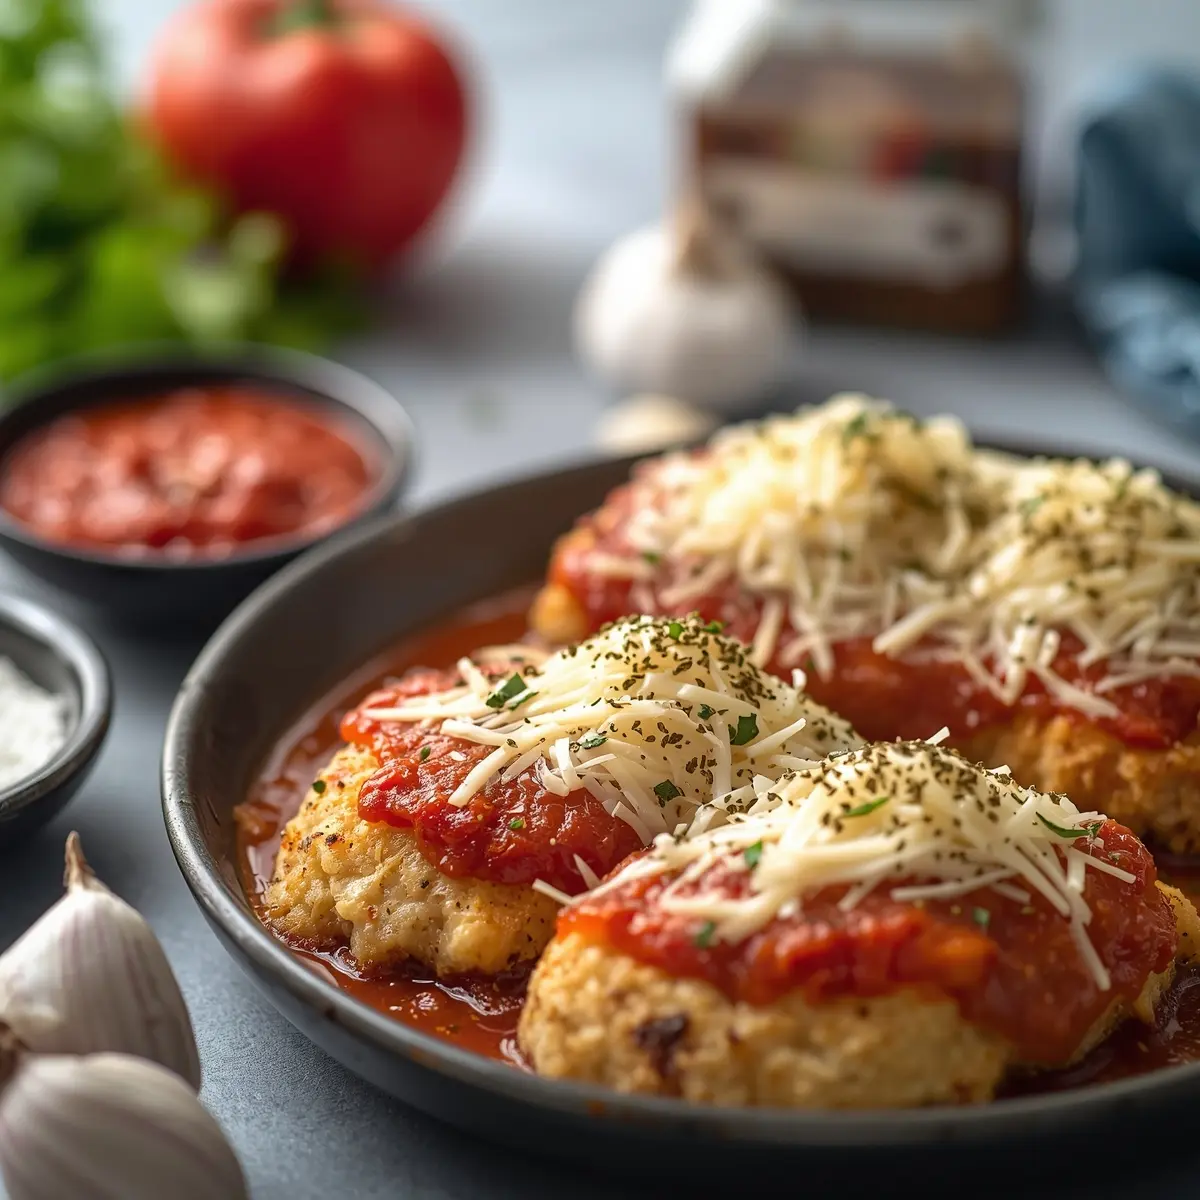
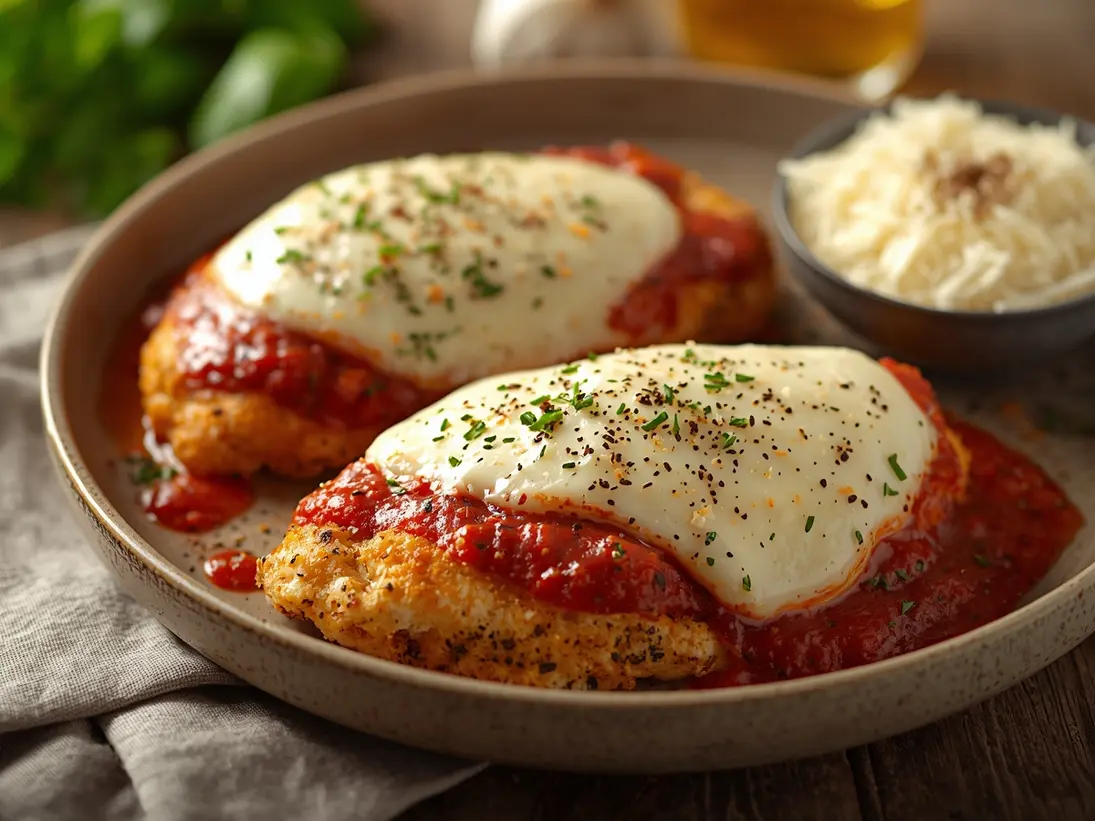
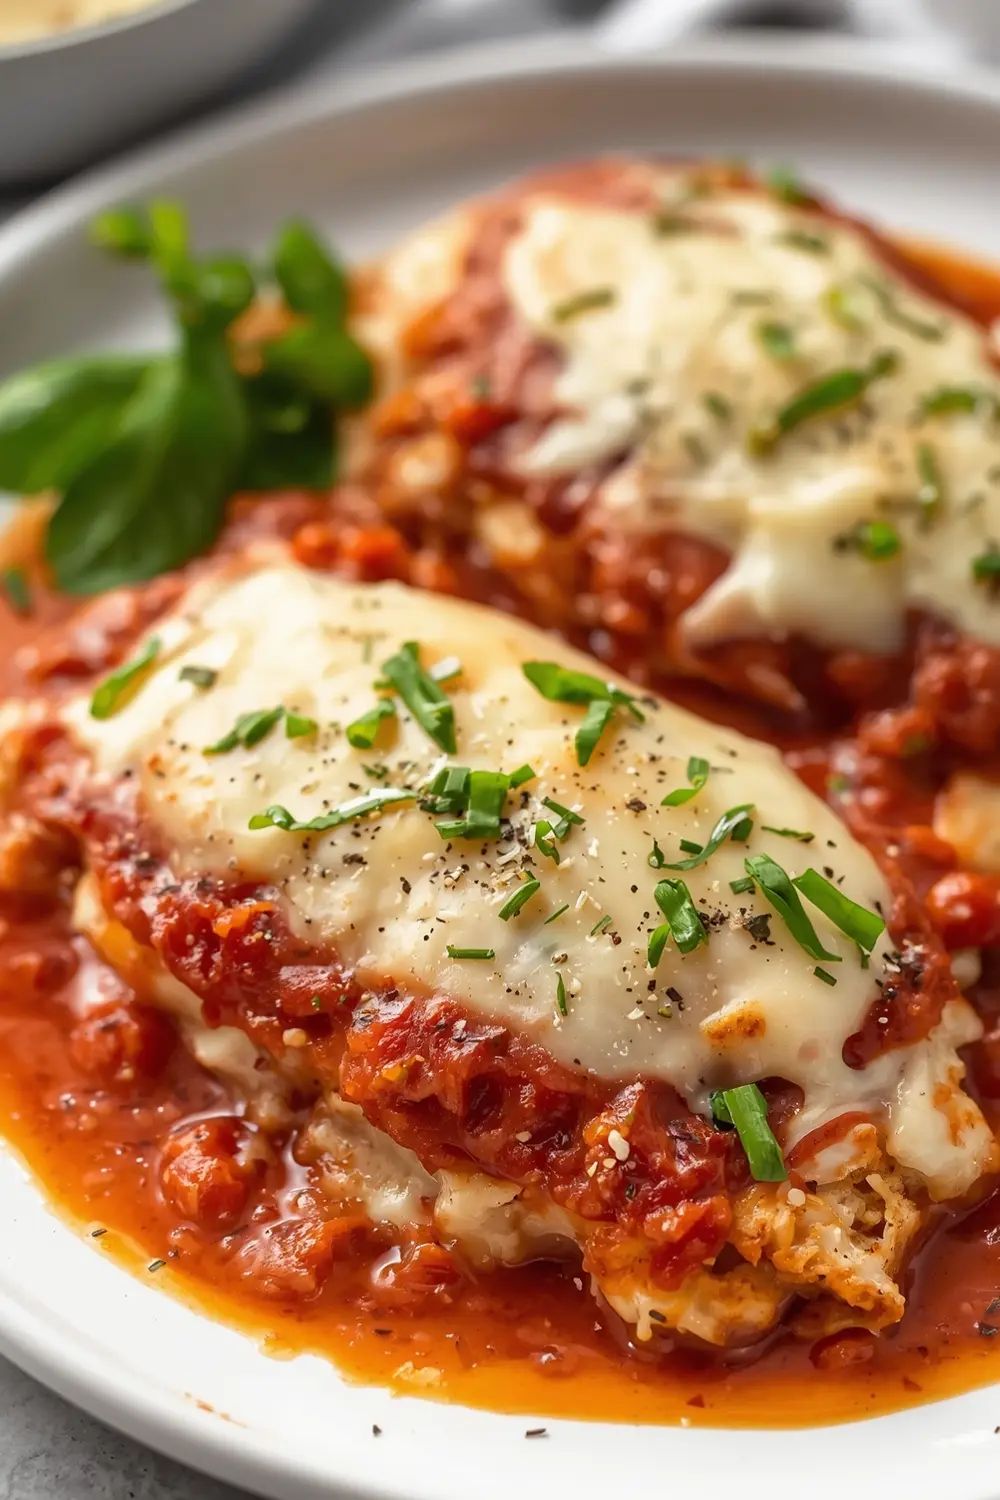
6. Remove the chicken from the oven carefully—it’s hot! Top each piece with 2-3 tablespoons of marinara sauce, then sprinkle the mozzarella and parmesan cheese over top. When your kitchen smells like toasted garlic and melting cheese, you’ll know it’s almost ready. Return to the oven for 8-10 minutes until the cheese melts and gets slightly bubbly around the edges.
7. Let the chicken rest for 2-3 minutes after removing from the oven. This keeps the cheese from sliding right off. The residual heat finishes melting everything together while the breading sets up. Serve immediately while it’s hot.
Serving ideas for chicken parmesan baked
Pair your chicken parmesan baked with sides that balance the richness without competing for attention.
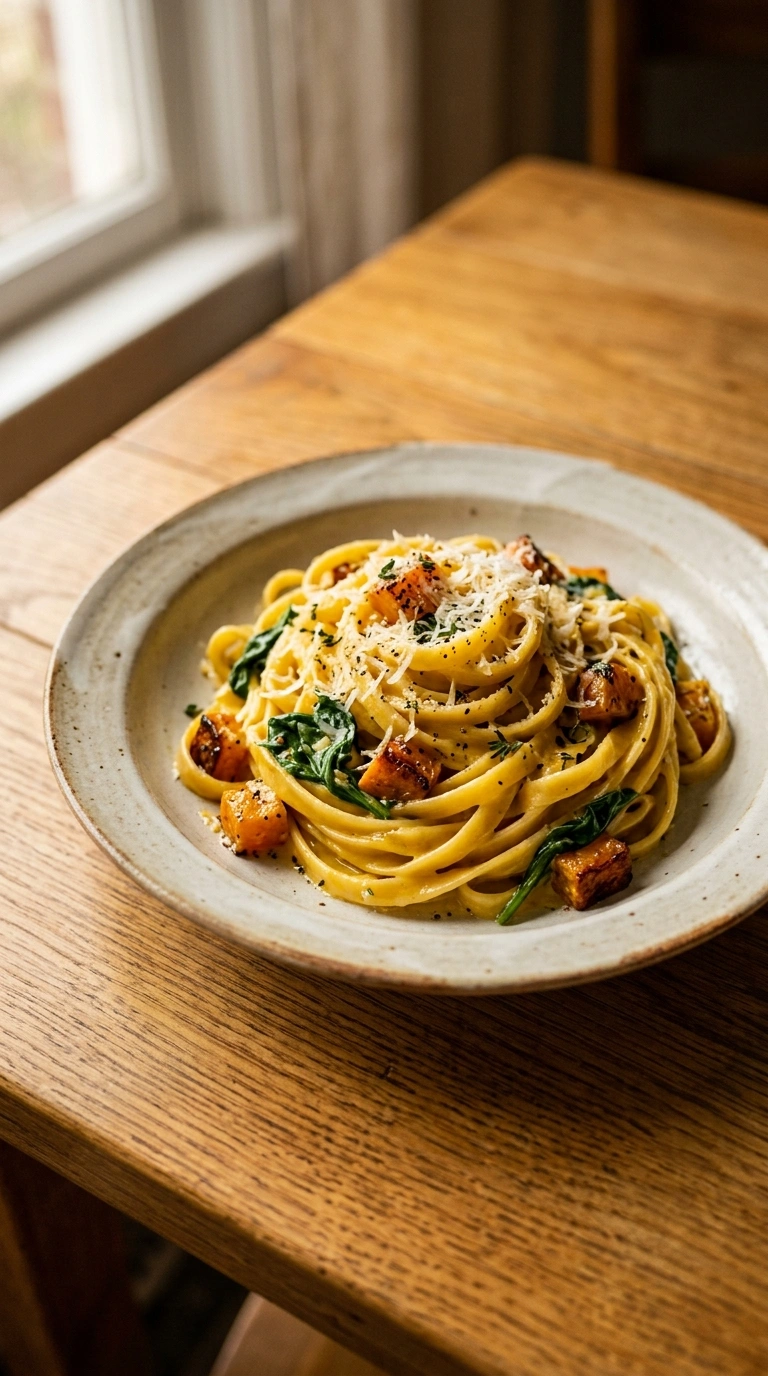
Spaghetti with garlic butter
Twirl spaghetti with olive oil, minced garlic, and a pinch of red pepper flakes. The soft, warm pasta contrasts beautifully with the crispy breaded chicken. Top the pasta with extra parmesan and fresh basil if you have it. This combo is what comfort food actually means—the tender pasta catches any extra sauce that drips from the chicken.
Roasted green beans with lemon
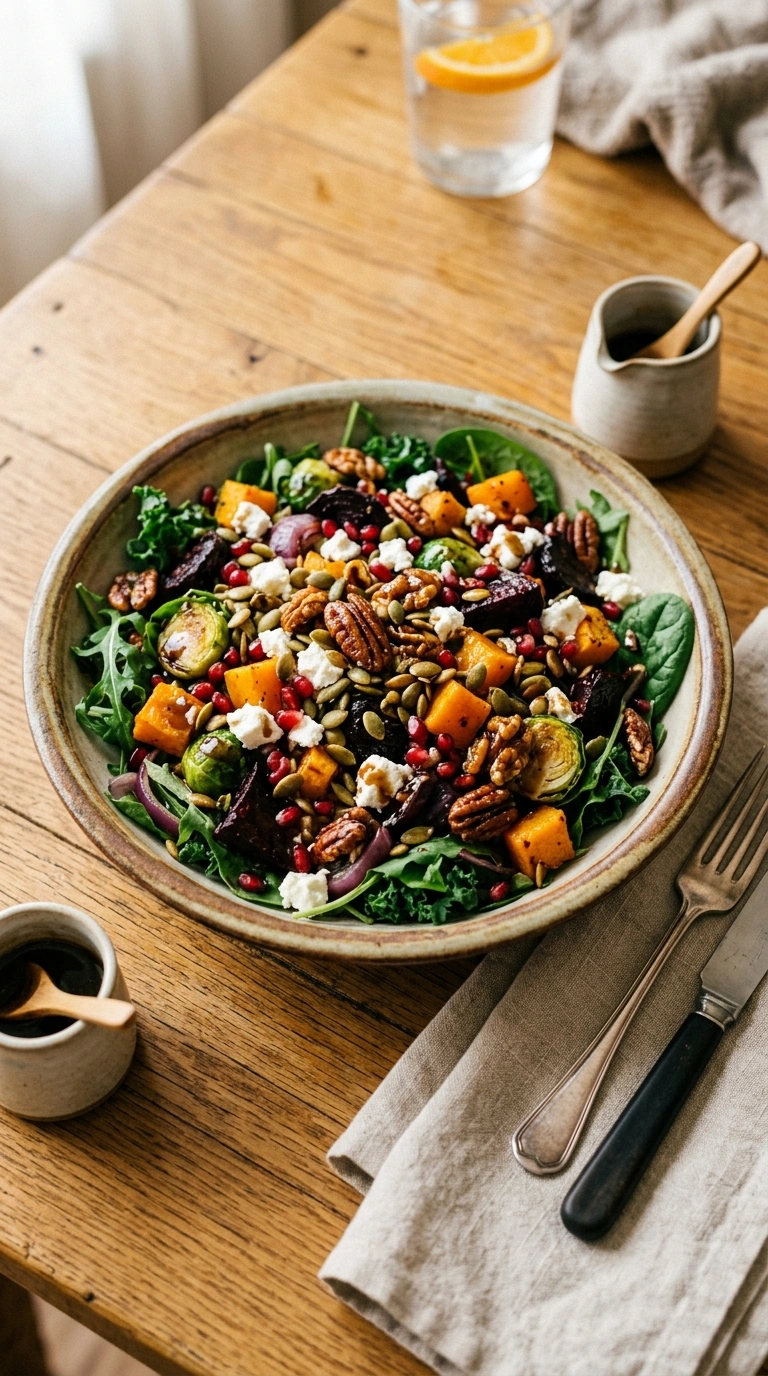
Toss fresh green beans with olive oil, salt, and lemon zest. Roast at 425°F alongside your chicken for the last 15 minutes. The bright, slightly tangy flavor cuts through the richness of the melted cheese. This is my go-to because it adds a fresh element without extra work. Check out more Italian comfort dinner sides for additional pairing ideas.
Caesar salad with crispy croutons
Crisp romaine lettuce with homemade or store-bought caesar dressing plus crunchy croutons. The cold, sharp salad balances the warm, cheesy chicken perfectly. It’s the textural contrast that makes this work—crispy salad against creamy melted cheese.
Frequently asked questions
Can I freeze chicken parmesan baked?
Yes, freeze it before baking. Layer the breaded chicken pieces between parchment paper in an airtight container for up to 3 months. When you’re ready, bake straight from frozen, adding 5-7 minutes to the cooking time.
You can also freeze leftovers after baking, but the breading won’t be quite as crispy when reheated. Baking from raw gives you the best results. Store cooled chicken in an airtight container on the lowest shelf of your freezer.
What if I don’t have panko breadcrumbs?
Regular breadcrumbs work fine, but panko stays crispier longer. If you’re out, pulse some crushed crackers or even crushed cereal in a food processor to create larger crumbs.
The texture won’t be identical, but it’ll still taste good. I’d honestly grab panko next time you’re at the store—it’s cheap and transforms tons of recipes.
How do I reheat leftover chicken parmesan baked?
Reheat in a 350°F oven for 10-12 minutes covered with foil. Don’t use the microwave or the breading gets rubbery and the chicken dries out completely.
The oven method keeps the breading crispy while warming everything through evenly. If you’re in a rush, 5 minutes at 375°F works too, just watch it closely so the cheese doesn’t burn.
Is this recipe easy enough for weeknight dinners?
Absolutely—prep takes 15 minutes and baking takes 25 minutes total. This is literally faster than ordering delivery and tastes way better. Most people have these ingredients already in their kitchen.
The hardest part is just pounding the chicken thin, which takes 3 minutes. Everything else is straightforward assembly and waiting for the oven to do the work.
Final thoughts
You now know the exact reason baked chicken beats fried every single time for home cooking. The breading gets just as crispy without the oil mess, the cheese melts perfectly, and cleanup takes literally two minutes. Most people never figure out that parchment paper and proper heat are what make the difference.
This isn’t some fancy restaurant secret—it’s just understanding how heat and moisture work together. When you bite into that first piece, the contrast between the golden, crunchy exterior and the tender, juicy chicken inside proves the method works. The melted cheese pulls away in stretchy strands, and the whole thing tastes like Italian comfort without any of the fuss.
Your family’s gonna ask when you’re making this again before they even finish eating. That’s when you know you’ve nailed a recipe. For more crowd-pleasing Italian weeknight meals, check out easy baked pasta dishes that use the same simple approach.
Pin this for your next busy week—you’ll be so glad you did.
Easy Chicken Parmesan Baked
Ingredients
Method
- Preheat your oven to 425°F. Line a baking sheet with parchment paper and lightly brush it with olive oil. This prevents sticking and helps the chicken bottom get crispy instead of steamed. Pat your chicken breasts dry with paper towels—moisture is the enemy of crispiness. Season both sides generously with salt and pepper.
- Set up your breading station with three shallow bowls: flour in the first, beaten eggs in the second, panko mixed with 1 tsp oregano in the third. Coat each chicken breast in flour first, shaking off excess. Then dip into the egg, letting it drip off slightly before rolling in the panko mixture.
- Place breaded chicken on your prepared baking sheet. You’ll hear it sizzle slightly when it hits the parchment—that’s the signal your oven’s hot enough. Drizzle a tiny bit of olive oil over the top of each piece. This helps the breadcrumbs brown evenly without being greasy.
- Bake for 15-18 minutes until the chicken is cooked through and the breading turns golden brown. Don’t panic if it looks pale at first—it’ll brown quickly once the oven heat really kicks in. Mine always takes about 16 minutes, so set a timer and check at the 15-minute mark.
- While the chicken bakes, warm your marinara sauce in a small saucepan over medium heat. Stir in the minced garlic and let it warm through. This step only takes 3-4 minutes and makes the sauce taste fresher and less like it came straight from a jar.
- Remove the chicken from the oven carefully—it’s hot! Top each piece with 2-3 tablespoons of marinara sauce, then sprinkle the mozzarella and parmesan cheese over top. When your kitchen smells like toasted garlic and melting cheese, you’ll know it’s almost ready. Return to the oven for 8-10 minutes until the cheese melts and gets slightly bubbly around the edges.
- Let the chicken rest for 2-3 minutes after removing from the oven. This keeps the cheese from sliding right off. The residual heat finishes melting everything together while the breading sets up. Serve immediately while it’s hot.