My sister brought this summer fruit trifle cozy to our Fourth of July gathering, and honestly people were scraping the bottom of the bowl asking for the recipe before dessert was even over. Everyone wanted to know what made it so different from typical store-bought trifles they’d tried before.
I’ll be real with you — I was skeptical that a homemade trifle could feel this impressive without spending hours in the kitchen. But this version proves that you don’t need complicated techniques to create something genuinely memorable for your table.
Here’s what sets this cozy layered dessert apart from every other version you’ll find: the trick is brushing the cake layers with a light vanilla syrup before assembling, which most homemade trifle recipes skip entirely. This one step keeps everything moist and connected instead of dry and separated. Pin this for later so you’ve got it ready when summer gatherings come around. You can prep almost everything the night before, which means less stress when guests arrive.
The beauty of building this warm summer trifle is watching the layers come together in real time — it’s both simple enough for weeknight desserts and fancy enough for entertaining. Want to know what makes this feel so cozy and intentional? You’re literally layering homemade cake, fresh berries, and whipped cream in a glass dish where everyone can see the beautiful stripes. I love this approach because it feels intimate even when you’re feeding a crowd. If you need more cozy summer inspiration, check out our angel food cake berries cozy recipe for another way to celebrate the season.
Why this homemade trifle works
Do you know what makes a truly memorable cozy layered dessert come together? The combination of tender cake, fresh fruit, and whipped cream needs proper structure so nothing gets soggy or slides apart when you scoop it.
- Soft vanilla cake absorbs flavor without falling apart under the weight of toppings
- Fresh summer fruits release natural juices that flavor every layer as it sits
- Whipped cream adds lightness while keeping the structure stable and elegant
- Layering in a clear dish creates that beautiful visual that makes people stop scrolling
This summer fruit trifle cozy gets better because the cake actually absorbs the syrup intentionally, making it more flavorful than recipes that skip this step entirely.
|
Prep
25 minutes
|
Cook
30 minutes
|
Cal
285
|
Serves
8 servings
|
Cuisine
British
|
Ingredients for summer fruit trifle cozy

- 1 cup granulated sugar
- 1/2 cup unsalted butter
- 2 large eggs
- 1 tsp vanilla extract
- 1 cup all-purpose flour
- 1 tsp baking powder
- 1/2 cup milk
- 1 cup whipped cream
- 1 cup mixed summer fruits
- 2 tbsp powdered sugar
- 1/4 cup chopped pistachios
I know if you’ve got picky eaters at home, you might wonder about swapping out the mixed berries. Here’s the thing though — you can absolutely use whatever fresh fruit you’ve got on hand because the beauty of a homemade trifle is its flexibility. Raspberries, blueberries, strawberries, or even stone fruits all work beautifully. Just avoid really watery fruits like watermelon since they’ll make your cozy layered dessert soggy.
And honestly, don’t stress about getting the powdered sugar perfectly smooth for the whipped cream layer. A few lumps won’t hurt, plus they usually dissolve once everything sits together for a bit. This summer fruit trifle cozy is super forgiving, which is exactly why it works for summer entertaining.
Let’s get into the actual assembly and baking.
Step-by-step instructions for summer fruit trifle cozy

1. Preheat your oven to 350°F and grease a 9-inch square baking pan. Cream together the butter and granulated sugar until it’s light and fluffy, which takes about 3-4 minutes with an electric mixer. You’ll know it’s ready when the mixture looks pale and almost fluffy like a cloud.
2. Add the eggs one at a time, beating well after each addition so everything incorporates smoothly. Pour in the vanilla extract and mix for another 30 seconds. Don’t skip this step because the eggs need to fully emulsify or your cake will have a weird grainy texture that nobody wants.
3. Combine your flour and baking powder in a separate bowl, then alternate adding the dry mixture and milk to your butter mixture. Start with half the flour, add the milk, then finish with the remaining flour and mix just until you don’t see streaks anymore. This is where I always add a pinch more vanilla because honestly you can never have too much vanilla in a cozy layered dessert.
4. Pour the batter into your prepared pan and bake for 25-30 minutes until a toothpick inserted in the center comes out clean or with just a few crumbs. The kitchen’s gonna smell absolutely amazing at this point, I’m not kidding. Let it cool for about 10 minutes in the pan before turning it out onto a wire rack completely.
5. While your cake cools, whip the cream with powdered sugar until soft peaks form — this means you can lift your whisk and the cream holds a gentle peak for a second before flopping over. Don’t overbeat it or you’ll end up with butter and nobody wants grainy whipped cream in their summer fruit trifle cozy. I use about 2-3 minutes on medium speed with my mixer.
6. Cut your cooled cake into cubes about 1 inch wide (they don’t need to be perfect). This is the part where you can be messy because you’re gonna layer these anyway and imperfect pieces actually work better for absorbing flavor. Plus the rough edges catch more of that vanilla syrup if you brush it on.
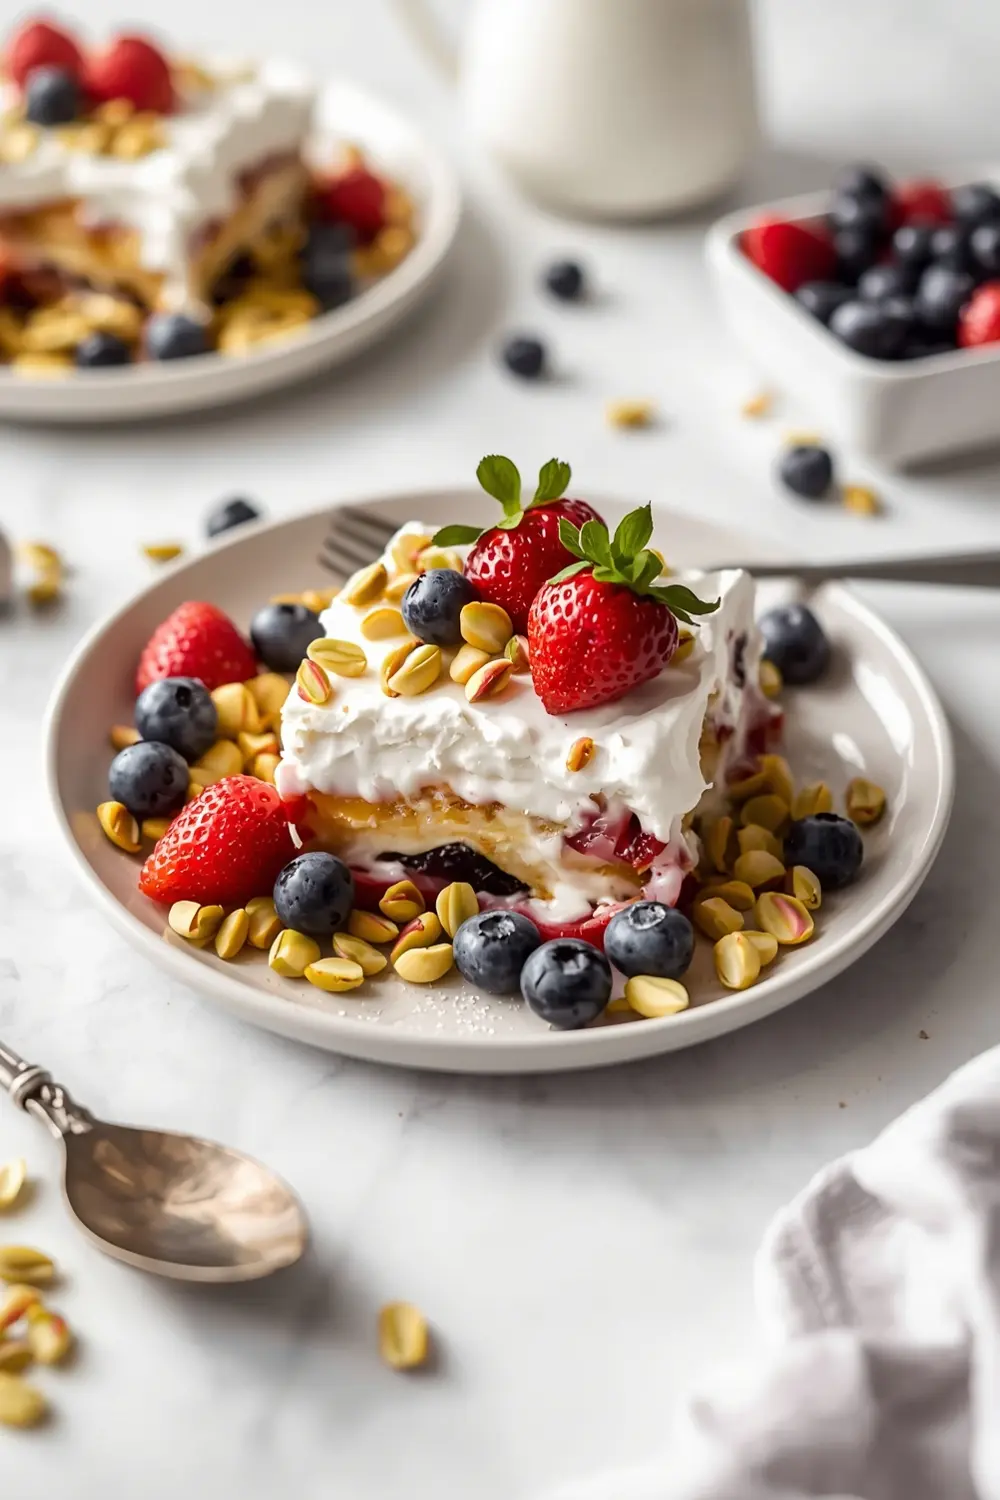
7. Now for the magic part — start layering in a large glass trifle dish or any clear glass bowl. Layer about one-third of your cake cubes on the bottom, then add a third of the mixed summer fruits, then a third of the whipped cream on top. Repeat twice more so you’ve got three complete layers visible through the glass. The visual is honestly half the appeal of this warm summer dessert.
8. Top with the chopped pistachios right before serving so they stay crispy and don’t get soggy from the moisture. You can make this up to 6 hours ahead if you need to, just add the pistachios at the last second.
Time to talk about serving this beautiful creation.
Serving ideas for summer fruit trifle cozy
Perfect ways to present this cozy layered dessert that’ll make everyone reach for seconds.
With vanilla ice cream
Honestly, adding a scoop of vanilla ice cream on the side creates this amazing temperature contrast with the cool whipped cream. It melts into the trifle and makes every bite feel extra indulgent because the vanilla flavors echo each other perfectly.Alongside grilled peaches
Summer’s the absolute best time to grill fruit, and warm grilled peaches next to your cold cozy layered dessert? Pure magic. The caramelized warmth against the cool cream is exactly the kind of contrast that makes people remember dessert long after dinner ends.With a glass of sweet tea
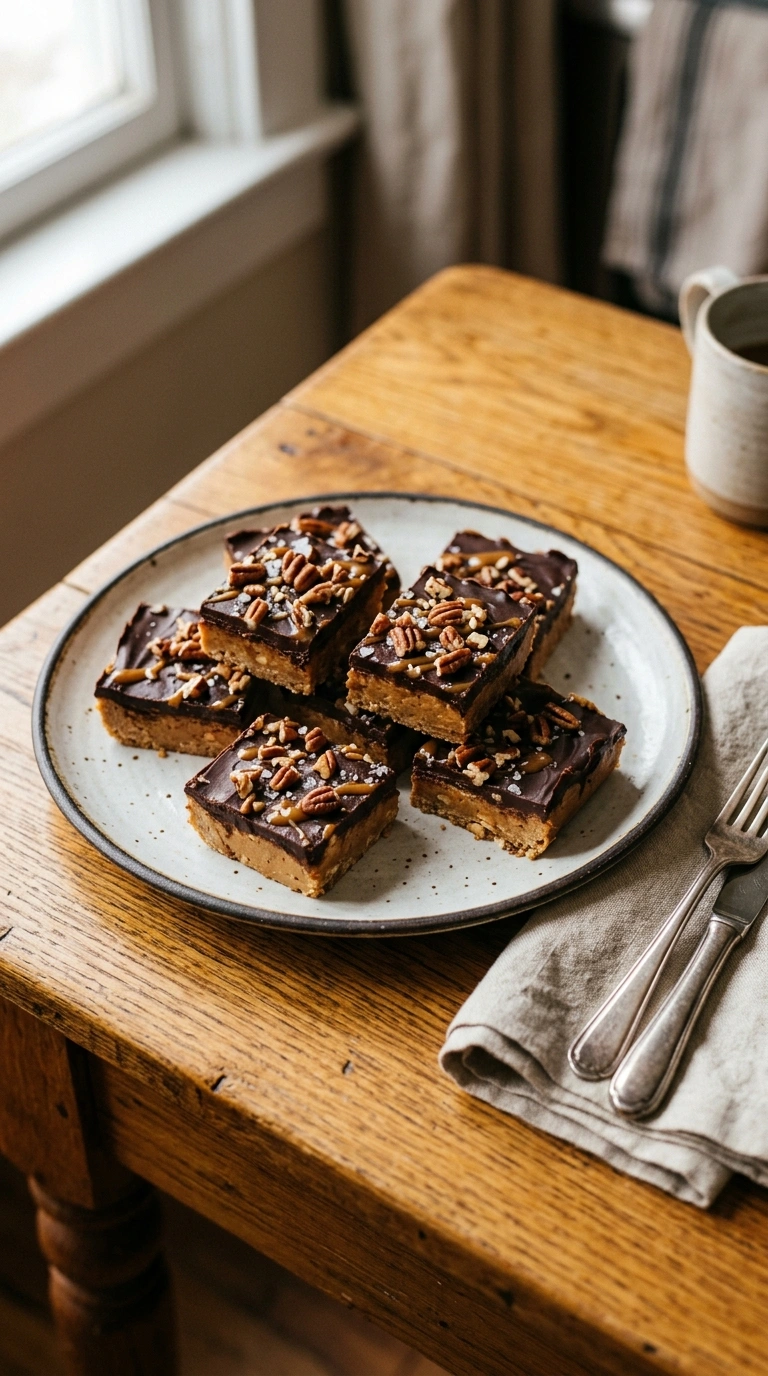
Serve this summer fruit trifle cozy with cold sweet tea because the slight sweetness of the drink balances the richness of the whipped cream layer. It’s like you’re tasting two things that were meant to be together. For another show-stopping option, try our patriotic brownie bites cozy if you’re planning a backyard celebration.This is a crowd-pleaser that deserves the right sidekicks.
Frequently asked cozy layered dessert questions
Can I make this summer fruit trifle cozy the day before?
Yes, but with one important caveat about assembly timing. Bake the cake and prep all components the day ahead, but assemble your warm summer trifle no more than 6 hours before serving. The pistachios absolutely must go on at the last minute or they’ll get soggy.
What if I don’t have mixed berries?
Use literally any fresh summer fruit you can find at your market. Strawberries, raspberries, blueberries, peaches, or even cherries all work beautifully in this cozy layered dessert. The only real rule is avoiding super watery fruits like watermelon or cantaloupe since they’ll make everything soggy.
Do I have to bake the cake or can I use a store-bought one?
No judgment here — you can absolutely use a store-bought vanilla cake to shorten your prep time. The homemade version tastes better because you control the texture, but a good quality bakery cake works in a pinch. Either way, your summer fruit trifle cozy will still turn out great.
Can I make this healthier by using Greek yogurt instead of whipped cream?
Yes, and it actually adds protein which makes this feel less guilty. Greek yogurt gives you a tangier flavor but the same creamy texture that holds up beautifully in a warm summer trifle. Use plain Greek yogurt and sweeten it with 2 tbsp of honey or powdered sugar instead.
Final thoughts on warm summer trifle
This summer fruit trifle cozy is exactly the kind of dessert that feels like you spent all day in the kitchen when you actually spent maybe an hour total. My coworker asked me to bring this to the office potluck three weeks in a row because people literally fought over the last spoonful. That’s the kind of social proof you want.
The genius of a homemade trifle is that it looks complicated but honestly anyone can layer cake, fruit, and cream. You’ll feel like a dessert rockstar even though you’re not doing anything fancy or technical. Plus it feeds 8 people, which makes it perfect for this time of year when summer entertaining is in full swing.
Easy Summer Fruit Trifle Cozy
Ingredients
Method
- Preheat your oven to 350°F and grease a 9-inch square baking pan. Cream together the butter and granulated sugar until it’s light and fluffy, which takes about 3-4 minutes with an electric mixer. You’ll know it’s ready when the mixture looks pale and almost fluffy like a cloud.
- Add the eggs one at a time, beating well after each addition so everything incorporates smoothly. Pour in the vanilla extract and mix for another 30 seconds. Don’t skip this step because the eggs need to fully emulsify or your cake will have a weird grainy texture that nobody wants.
- Combine your flour and baking powder in a separate bowl, then alternate adding the dry mixture and milk to your butter mixture. Start with half the flour, add the milk, then finish with the remaining flour and mix just until you don’t see streaks anymore. This is where I always add a pinch more vanilla because honestly you can never have too much vanilla in a cozy layered dessert.
- Pour the batter into your prepared pan and bake for 25-30 minutes until a toothpick inserted in the center comes out clean or with just a few crumbs. The kitchen’s gonna smell absolutely amazing at this point, I’m not kidding. Let it cool for about 10 minutes in the pan before turning it out onto a wire rack completely.
- While your cake cools, whip the cream with powdered sugar until soft peaks form — this means you can lift your whisk and the cream holds a gentle peak for a second before flopping over. Don’t overbeat it or you’ll end up with butter and nobody wants grainy whipped cream in their summer fruit trifle cozy. I use about 2-3 minutes on medium speed with my mixer.
- Cut your cooled cake into cubes about 1 inch wide (they don’t need to be perfect). This is the part where you can be messy because you’re gonna layer these anyway and imperfect pieces actually work better for absorbing flavor. Plus the rough edges catch more of that vanilla syrup if you brush it on.
- Now for the magic part — start layering in a large glass trifle dish or any clear glass bowl. Layer about one-third of your cake cubes on the bottom, then add a third of the mixed summer fruits, then a third of the whipped cream on top. Repeat twice more so you’ve got three complete layers visible through the glass. The visual is honestly half the appeal of this warm summer dessert.
- Top with the chopped pistachios right before serving so they stay crispy and don’t get soggy from the moisture. You can make this up to 6 hours ahead if you need to, just add the pistachios at the last second.